Menu
=====
-Turkey Breast
-Gravy
-Bread stuffing
-Roast Potatoes
-Mashed Sweet Potatoes
-Cranberry sauce
-Bread machine rolls/buns
-Pumpkin Pie with whipping cream
Day N-2
======
Make large loaf of bread in your bread machine.
It seems like a crime, but you are going to take this lovely soft bread….
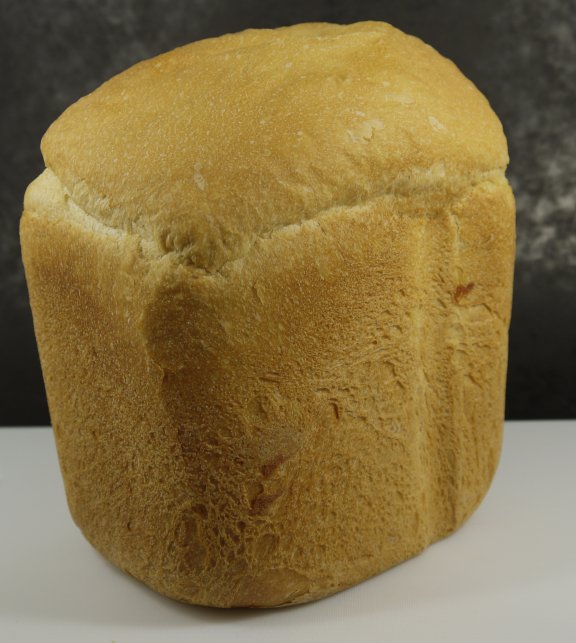
and butcher it by removing all the crust and cutting it into slices to let go stale,
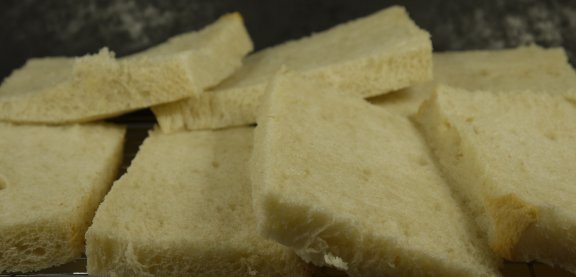
which is why you need to make it two days before. Bread made from the machine does not have any preservatives so sitting out for two days will make it very hard on the outside and soft indside which is what you need for great bread stuffing.
Make Cranberry Sauce in the Sous Vide .
.
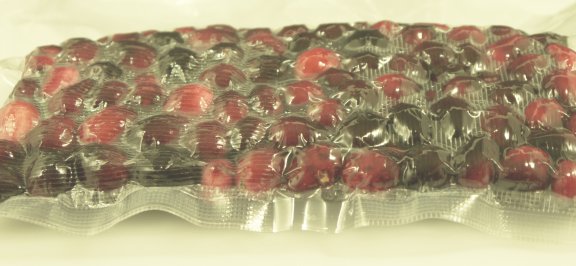
The Modernist Cuisine: The Art and Science of Cooking have a really interesting recipe for cranberry sauce. You first wash and sort through the cranberries then weigh them. Then weigh out 10% each of water and sugar. Coat the cranberries in the sugar and then put them in a sous vide bag and add the water. Hang the bag off of the end of the counter and vacuum seal.
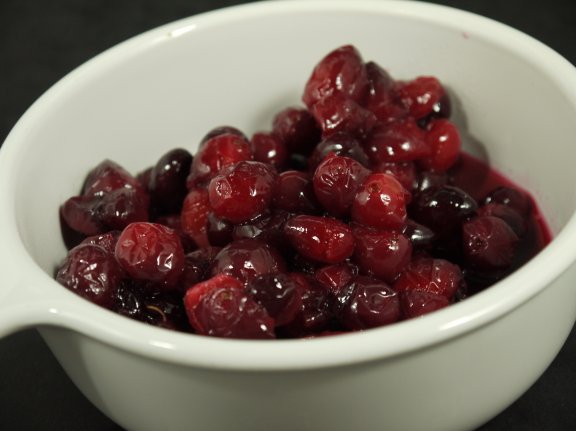
Note: The family decided that the amount of syrup was correct but the next time use 20% sugar.
Then cook Sous Vide to create sweet sugar syrup on the outside of whole cranberries. It is kind of wild to eat because first you get sweet of the syrup and then when you bite into a cranberry is explodes with sour.
Day N-1
======
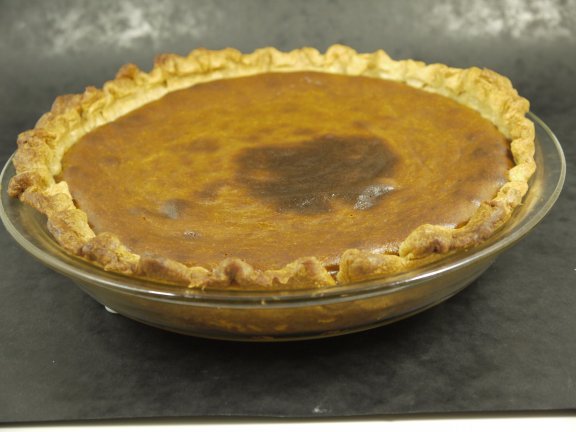
Make Pumpkin Pie.
I use Libby’s Pie filling and recipe (amended of course)…
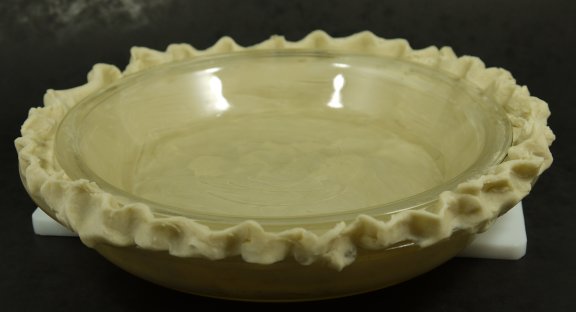
The one on the tin has you bake the pie crust blind first, then add then add the mix and bake which I agree with as no one wants a soggy crust (anywhere).
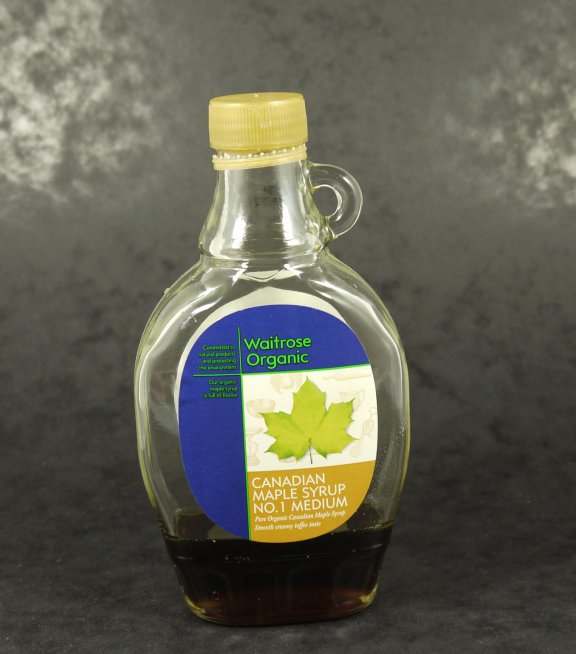
You can get all the ingredients at Waitrose in the UK so there is NO excuse not to (that was for Guy).

Pumpkin pie by itself is pretty (ok very) bland so we need to pimp it up with some spice! This is my change to the recipe because I love nutmeg so I include a whole grated nutmeg to the rest of the spices in Libby’s recipe.
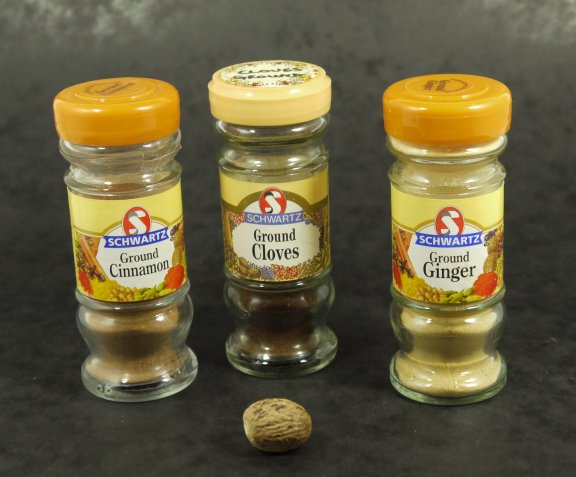
Watch you fingers toward the end of the grating and in fact I lied it is not a whole nutmeg it almost a whole nutmeg I stop grating when it nears adding skin to the mix.
There are two reasons you make pie a day before. The first is that by sitting for a couple of days in the fridge it allows the spices and other flavour to mix together into a smoother tasting pie. The second is that you have enough to do on the day.
Oh and BTW whipped cream is not optional… it rules! Don’t even think of using that UHT stuff from a can you have in your fridge. This requires proper whipping cream and powdered/icing sugar to give it that little bit more.
Thanksgiving Dinner (TD)
===================
TD (when you finally get up)
The Modernist Cuisine: The Art and Science of Cooking books have a type of recipe they call “parametric recipes”. They are designed to make any quantity and have one ingredient that is 100% by weight. For brown poultry stock the 100% ingredient was water. Now I had two packages of meat the needed to be ground for the recipe that were 1 kg combined weight. So I extrapolated the water up to be its correct percentage which was 1.33 kg of water which I used to determine the amount of the other ingredients. The Modernist chefs do all of their recipes by weight, and here is why: Tipping the Balance. I wanted to make some stock from the book since I purchased my pressure cooker, and Thanksgiving is all about the gravy so I thought today I would take the time (and money) to make some Brown Poultry Stock.
Here are the ingredients for Parametric Brown Chicken Stock for Gravy
Ingredient, kg
Water, 1.33
Chicken Breast and Turkey thigh, 0.99
Chicken Wings, 0.63
Leek, 0.07
Shallots, 0.08
Carrot, 0.07
All in this cost about £10 which is a lot for ingredients you are going to throw away in the end, but from what I had read the stock was worth it. I put the chicken wings in the oven to roast for ½ hour at 190°F.
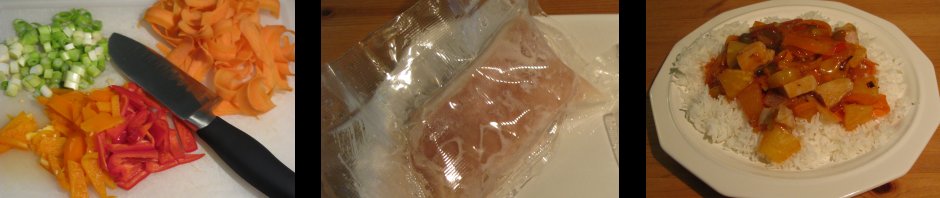
I then cut up the leeks, shallots and carrot into very thin slices.
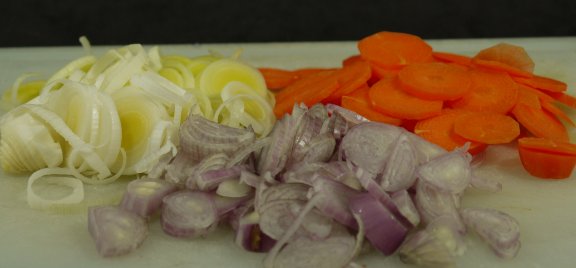
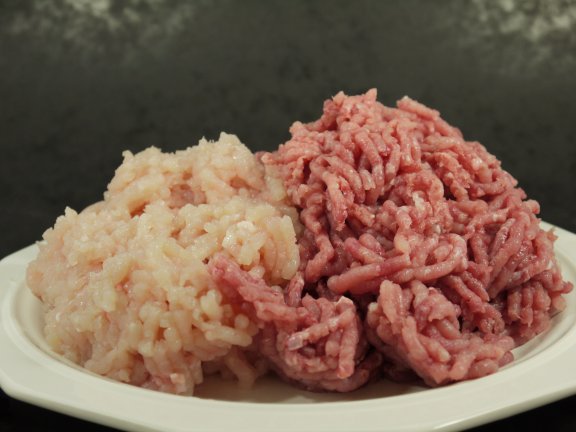
I got out one of my favourite toys – the Fleischwolf!!!
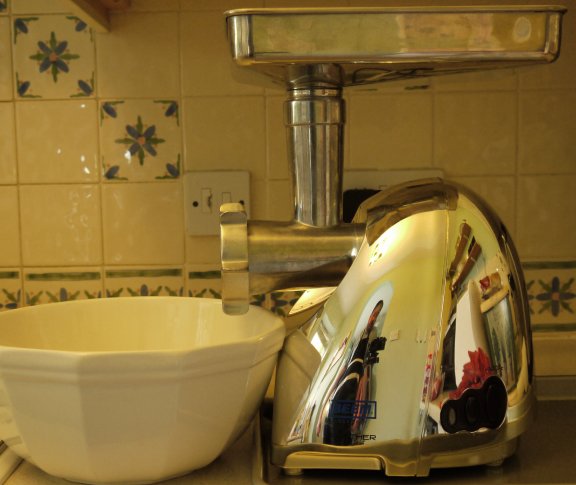
To grind the chicken breast and turkey thigh. The reason you slice so thinly and grind the meat is to increase the surface area and decrease the penetration distance to the centre which produces more flavour in a shorter amount of time.
With a little oil in the pan of the Pressure Cooker brown the ground meat. Then remove the meat with a slotted spoon and add the vegetables and cook until soft. You may wonder why we are cooking the meat and vegetables before putting into the pressure cooker which is going to cook them anyway. The answer is flavour, which is due the Maillard reaction (or caramelization to you and me).
Everything goes back into the Pressure Cooker and then we need to add the water. After spending £10 on the ingredients I think that I can spare another quid for some quality water.
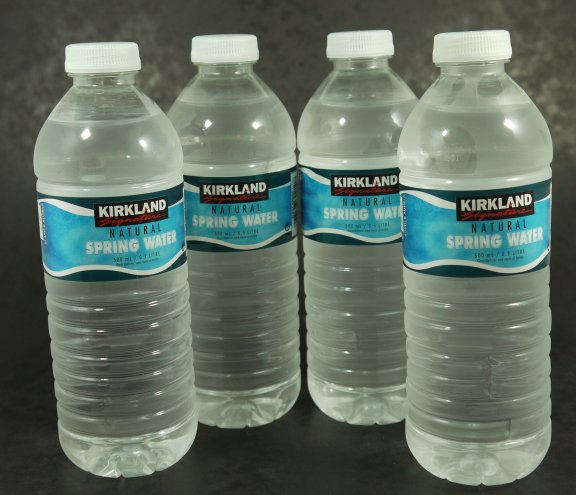
The water in my area is very hard so I do not steam or cook with it anymore and I can notice the difference in flavour and texture, especially of vegetables. Oh and no my pans are not coated in white gunk either.
After 1½ hours in the pressure cooker, turn it off and let the pressure reduce without venting. This is supposed to concentrate the flavour even further. When you can open the lid then strain through a fine sieve into a plastic container that has a lid. To facilitate removing the fat from the stock I then put the plastic container into a iced brine to cool it quickly. This was accomplished by putting the plastic container in a washing up bowl, adding ice and salt then topping up with cold water. By the time I was ready to use the stock in the afternoon I could skim off the fat easily.
Take the Cranberry sauce out of the fridge to get to room temp.
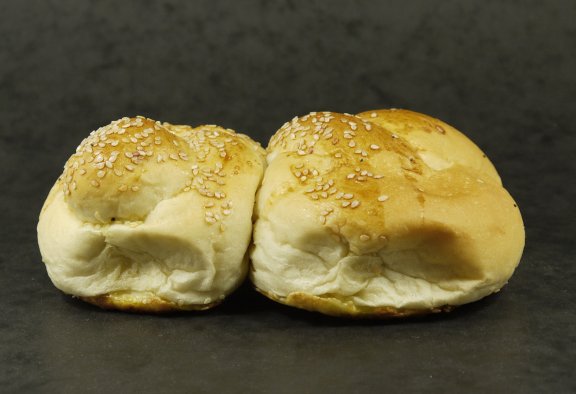
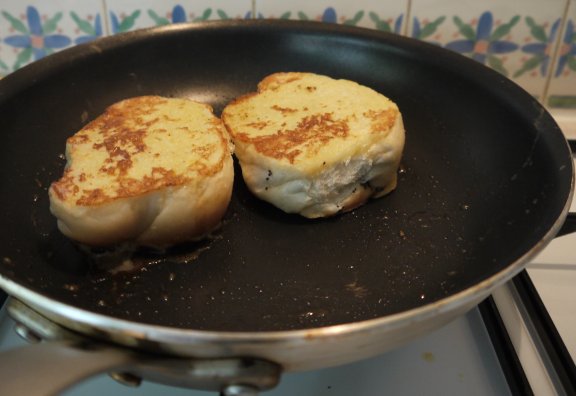
You need to make some rolls because they are great for:
Gravy bread – just ask my son
Butter and strawberry jam on the day (yah I mix sweet and savoury in a big way)
Leftovers – bun+butter+lettuce+turkey+salt oh ya bring it on!!!!!
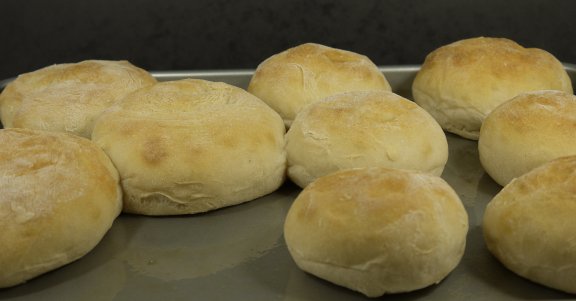
See previous posts for how to make rolls in the bread machine.
The ones on the left are my lunch for the next few days, and the ones on the right are for the day.
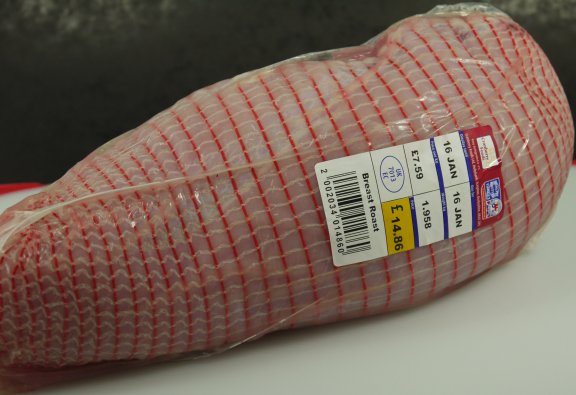
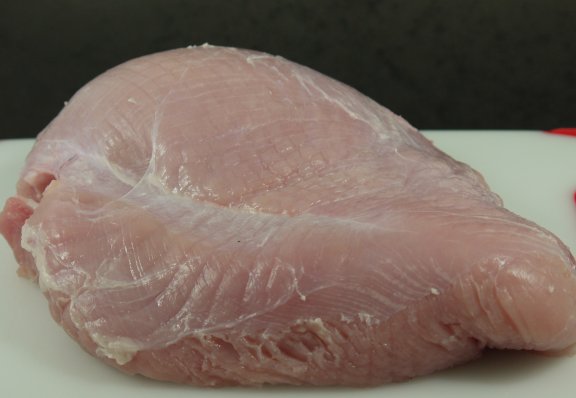
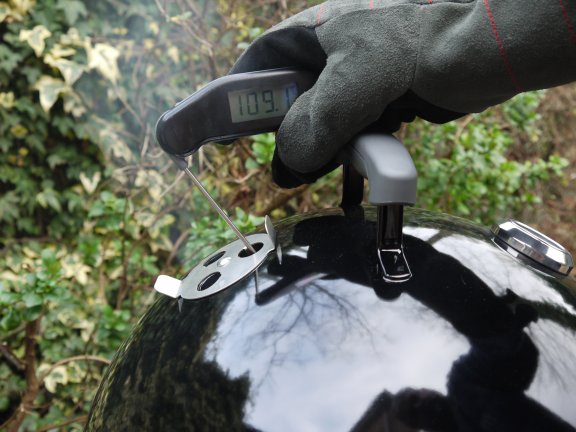
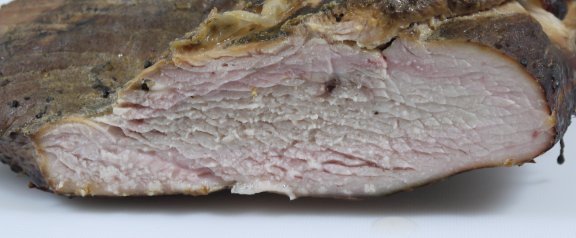
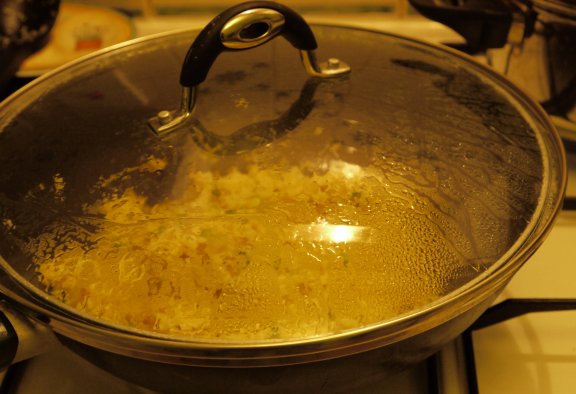
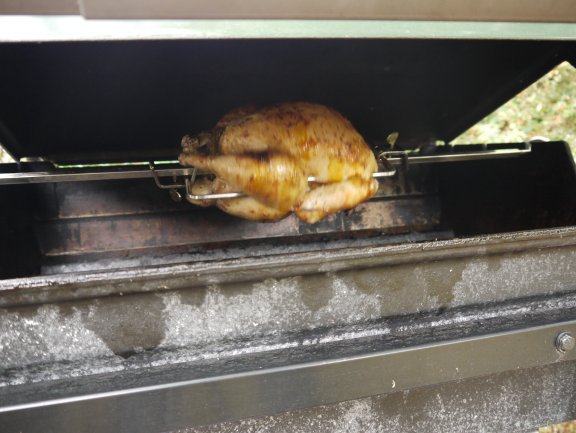
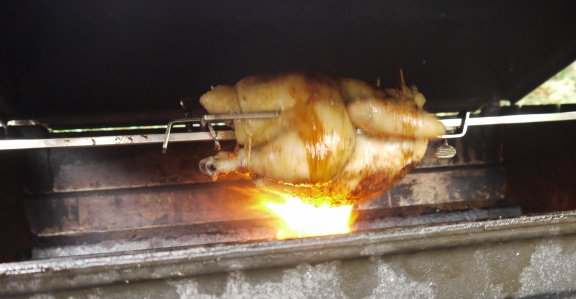
TD-4H Turkey Breast Sous Vide 147°F for 3 hours
Get the Sous Vide up to 147°F and bag that turkey breast with some butter.

I have to admit the next section is lacking pictures, but my son came home early and wanted to play the new Call of Duty (Duty or Cooking, Cooking or Duty). OK, so were really doing well on survival because we were working as a team. I think the only reason that the dinner was on time and not a mess was that later my daughter arrived and slid into my spot (and she is better at it than me, OK anyone is :-)).
TD-2H Make stuffing
I use a tried and trusted recipe for stuffing from Betty Crocker, but I use my own bread. Please note you can never have enough stuffing, ever. This stuff rocks, and rocks the next day too! No added extras because it would be just wrong to say you pimped Betty Crocker.
TD-1H
This is sweet potatoes or yams or what ever you want to call them. Give a good scrub up and put them in a pan to bring to a boil, and then let them simmer until you are ready to smash them up.
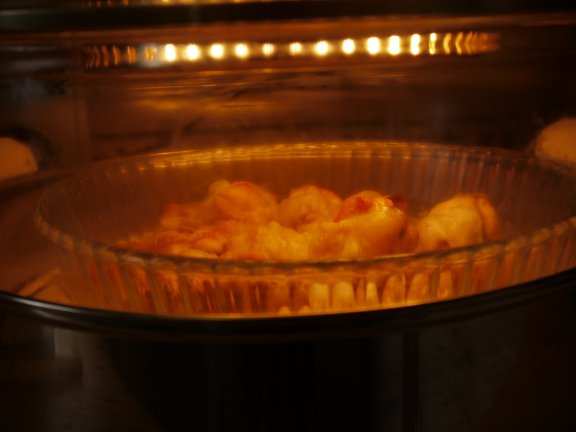
TD-1H Roast Potatoes 45 minutes in ActiFry
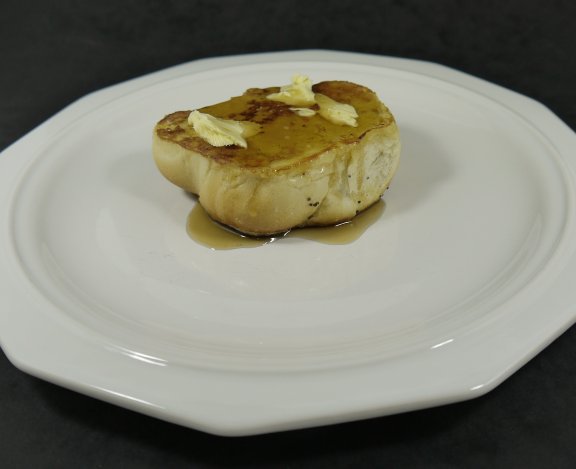
I have done the Tefal ActiFry so many time is past posts you can look for pictures. It is not just for chips as it does sauté and roast potatoes to perfection (see the plated up picture to check it out). Peel, quarter and wash several potatoes and then dry with a kitchen towel. Just 45 minutes and 5ml of groundnut oil produce the most perfect roast potatoes. I know that traditional TD utilizes mash, but I like roast potatoes since moving to the UK they are now traditional to me.
TD-1/2H
Put your stock into a pan and bring to a boil. Put about 25g of butter into a frying pan and heat until just bubbling. Cover the flour with regular flour and stir in until smooth, repeat 2 more times. Now add a ¼ cup of hot stock and stir until it is all incorporated. Now add two ¼ cups of hot stock and stir until incorporated, repeat doubling the amount of liquid until you have the desired consistency for gravy. Season with salt and pepper to taste. I like to make the gravy a bit runny then let it simmer for a while to reduce and intensify the flavour, plus it gives you time to do other things….
TD-PANIC IT IS ALL HAPPENING AT ONCE!!!!!!
The first thing to do is to get the sweet potatoes out of the water and onto a chopping board, and then in my case forget about them totally (oops).
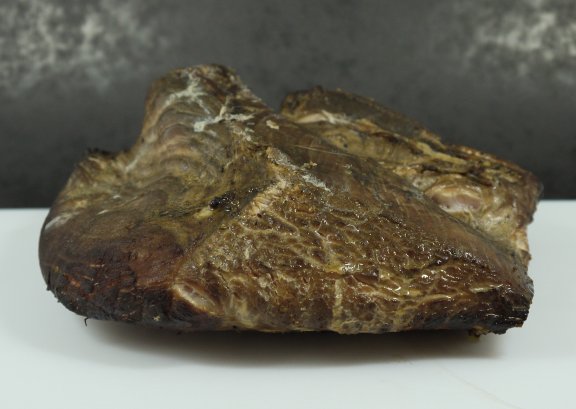
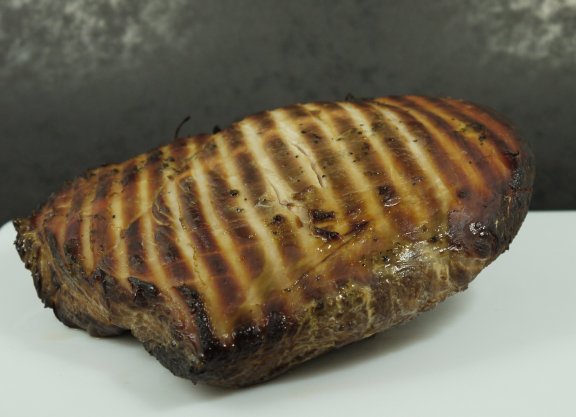
Next is to extract the turkey from the sous vide and slice.
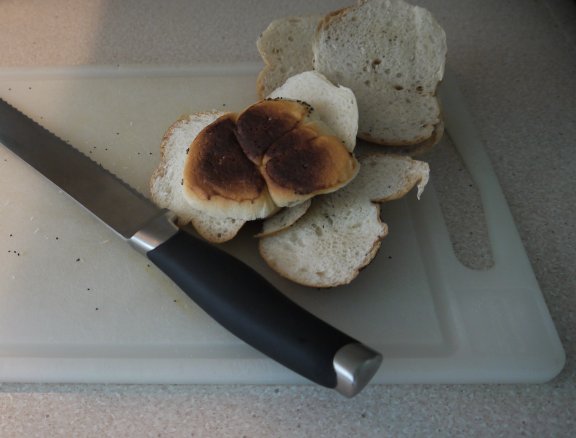
Cut the rolls in half.
Get the stuffing out of the oven.
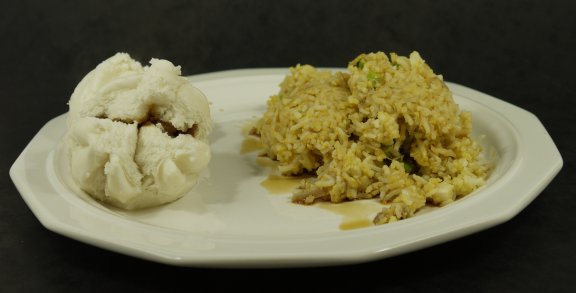
Finally cut a slice in the skin of the sweet potatoes and remove the skin. Then put them back into the pan with some of the whipping cream for the pumpkin pie and a couple of teaspoons of Allspice and smash them up with potato masher BTW that is the gold/brown stuff in front of the roll on the plated picture, it is great!
Here is a Mostly Modernist Thanksgiving Dinner plated up
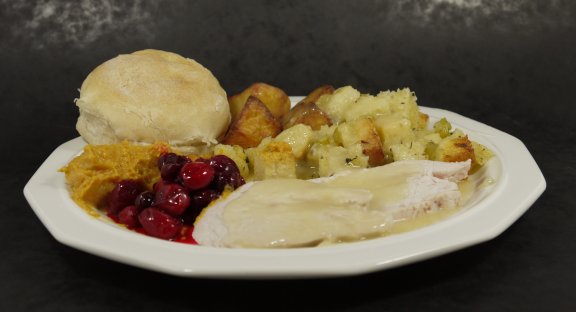
My son said it was “The best meal he has ever tasted” which made all the work worthwhile.
This blog is hosted by Brinkster, great service and support so
check it out…