In a single row Jaccard meat tenderizer. I never knew these existed until it was brought up in Volume 3 of Modernist Cuisine: The Art and Science of Cooking
.
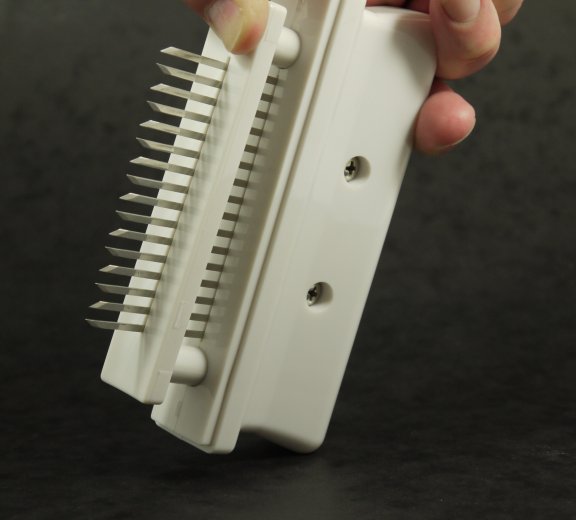
First I will give you a couple of shots of the Jaccard I bought. Here it is with its safety on.

And here is one with its teeth out.
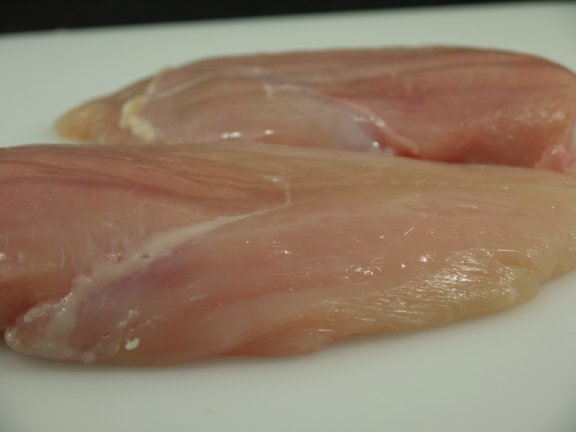
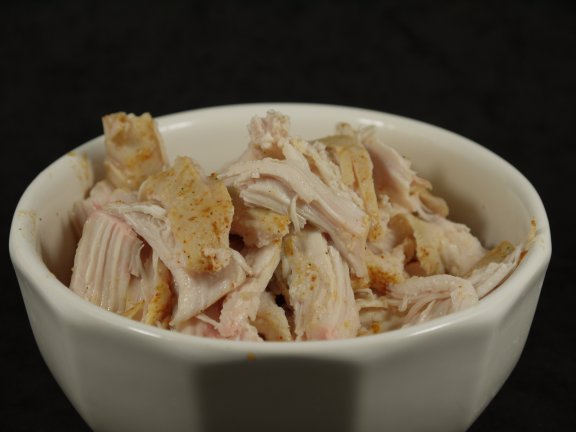
This little nasty piece of work is quite amazing. One of the key properties of this device is that the cuts in the meat are almost impossible to see after cooking. In fact they are hard to see on the raw meat also. These two chicken breasts have been heavily Jaccarded and I can hardly see any incisions.
It can serve two purposes which I will explore in this recipe.
Moisture:
OK so putting holes in your meat makes it retain more moisture, ya pull the other one…
The blades cut through the collagen fibres in the meat. Collagen shrinks when it cooks so it squeezes the juices out of the meat when the long fibres contract. The Jaccard cuts the long fibres into shorter lengths and thus has less contraction and moisture loss. Also myosin leaks out of the ruptured cells that the cuts produce and binds with the meat juices and thickens it, stopping the juice from running out of the meat. By using the Jaccard you can increases the moisture in the meat by 5-15% during cooking.
Marinating/Rubs/Smoking:
All of these techniques work on the outside of the meat and slowly work there way towards the centre. They are used to impart more intense flavour in the end product, but all work slowly. With lots of channels for the flavour enhancer to get into the meat it can permeate faster and deeper. And if you cook the meat in a vacuum pack in a Sous Vide it works much, much faster.
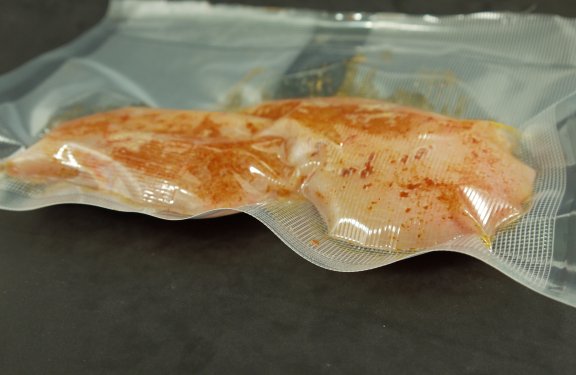
The kids were over so I decided to have chicken wraps. This time I was going to Jaccard the chicken then take the seasoning from the fajitas kit and rub it into the chicken before Sous Vide cooking them.
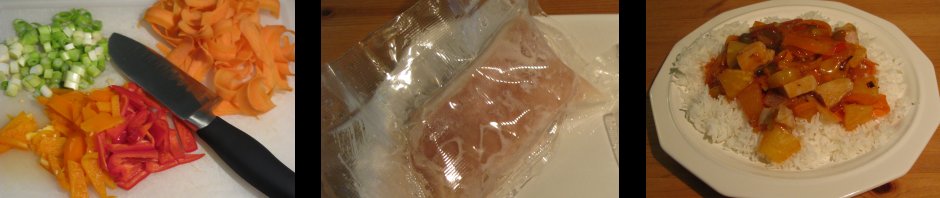
I got the other bits together for the fajitas, here are the cold ones.

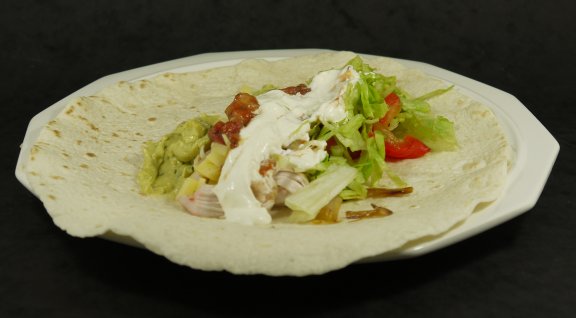
I really like the Old El Paso trio of guac, sour cream, and salsa in my wraps. Some lettuce, chopped tomatoes and cheese top it all off.
Cut up some shallots and a red pepper
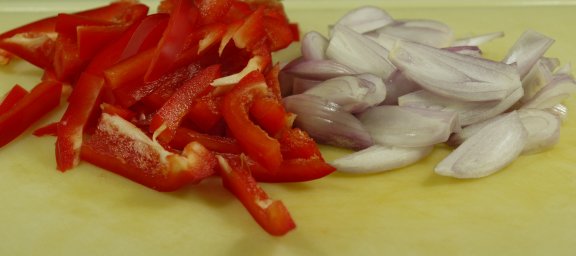
into slices and put it in a frying pan with a little olive oil and cook on low heat for about 30 minutes, stirring occasionally.
After about 1 ½ hours the chicken will be done, so take it out of the bag. PUT THAT KNIFE AWAY! I have had another lesson from a friend of mine. You need to tear the chicken into strips. That way you are not cutting across the grain. Tearing with the grain has little effect on the texture and moisture of the meat. You want your mouth to feel/taste that explosion of juice and flavour when you chew across the grain. Why leave all that on the cutting board?
The wraps go into the microwave in a zip lock bag for 40 seconds and then assembly. Oh ya this is eating and made my son exclaim that this was the best chicken he ever ate yuuuummmm…
Damn – where is my margarita?