
If you have a look at my about page this picture is of a course I went to at Waltham Place Farm to learn how to make sausages. I also signed up to be a friend of Waltham Place because they sell Organic Soil Association meat. They have it butchered locally and vacuum pack it so you can store it in the fridge or freeze. If you decide to freeze please see, the section on, freezers are for storing food and not freezing it. OK enough already, so what’s with the Shakespeare quote in the title of this entry? Hold on, hold on, just a little more background first. My daughter and I love to watch MAN V. FOOD, and in one of his shows he had the ultimate hamburger which was made with beef, but not beef as we know it! They used ground veal instead of ground beef. If you have stuck with me so far then here is the reason for all of the background
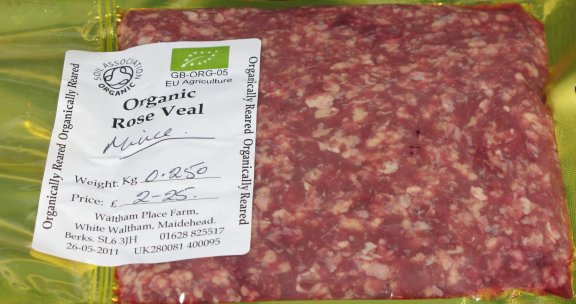
I was notified this week that Waltham farm was doing some butchering and they would have some Rose Veal available for purchase. What is Rose Veal? It is a by-product of two things. The first is that to produce milk, dairy farms need to produce baby cows. Girl cows good, boy cows not so good to a dairy farmer. They usually only have one big bad boy in the yard, unless they use the kitchen baster method then it is an all girls school. The second issue is what do you do with the boy cows if you don’t want them? The answer is Rose Veal to some farms. Give them a balanced diet of grass and milk and then let them party in the fields. One quote I saw said that they don’t live a long life, but it is still a good one.
A good burger starts with a good base, so into the bread maker goes:
¾ tsp yeast
400g strong white flour
1 tsp sugar
15g Butter
1 tsp salt
280 ml of water
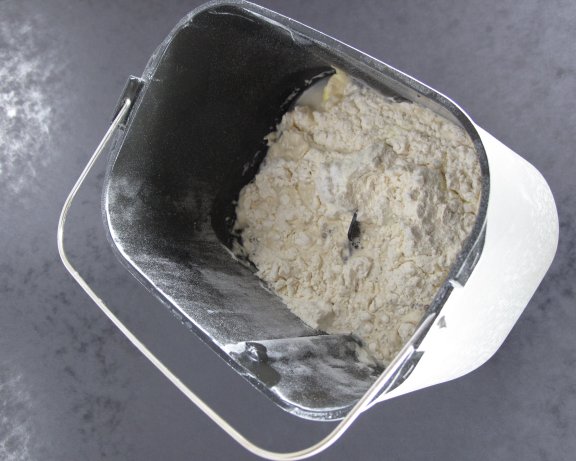
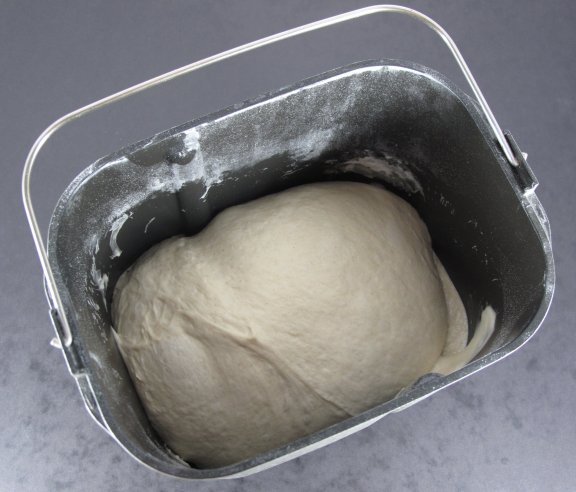
Program your Panasonic Breadmaker for bread dough. This will make 6 buns. 2 ½ hours later the beeping in the kitchen tells you the dough is done and it is time to get messy. The machine has done its work and produced a ball of dough.
WARNING: before you get covered in dough and flour, get your baking tray out and spread some butter on it. Then get your pastry board or marble slab out and dust down with flour. OK now you can continue…
Get some flour; you will need the bag if you do not want to wear the dough as gloves. Don’t be afraid of flour, as soon as things get a little sticky chuck some more on it. Sprinkle some around the edge of the pan between the dough and the pan and then some on top. Dust your hands with flour and punch down in the middle and grab the paddle that is in the bottom of the pan and pull it out. Make your hand flat and shove the flour you sprinkled around the edge down to the bottom of the pan all along all four sides, and when you are at the bottom pull the dough up to release from the pan. Flour both hands again and then you should be able to pull the dough ball out of the pan. Pat it into a ball adding flour to any stick bits. Now grab the big ball in the middle with the thumb and index finger squeeze to make two balls. Repeat until you have 6 balls. Now get some flour and cover one of the balls and proceed to push your thumbs up into the bread as you pull back on the top with your fingers until all the air bubbles are removed. Use more flour if it gets sticky. Then pull and flatten and pull the dough out to a round shape.
Off they go to a warm place or your airing cupboard if you live in the UK. They will be in there for about 30 to 45 minutes (ok I have to say the baking catch phrase…) or until about doubled in size. They never get that big until they are stuffed into the oven so just put them somewhere for 30 minutes and get on with dinner. Now turn your oven on to GM7 or 220C or 425F and put a shelf about ¾ way up the stack. BTW now is a good time to do some dishes as heating the water will help the airing cupboard to warm up and raise the bread.
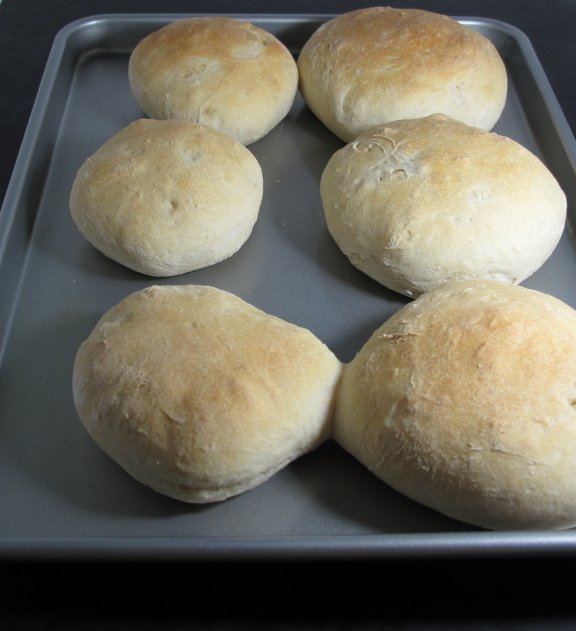
When the oven gets to heat it is time to put the dough in for 15 minutes, and they should be brown on top and cooked through.
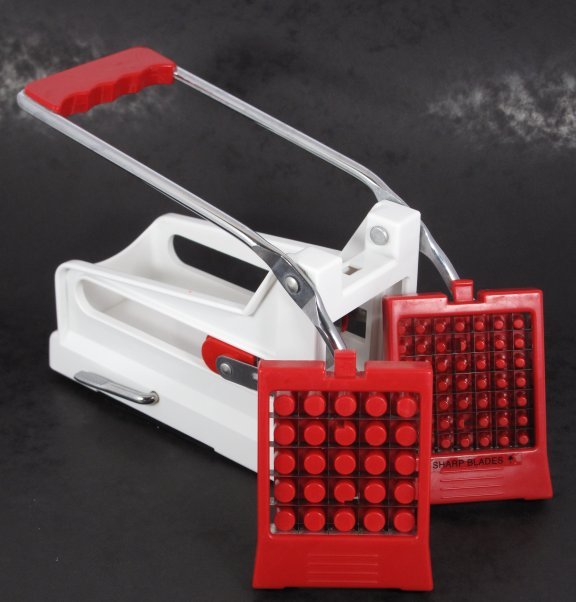
At about 40 minutes before trough it is time to make the French Fries. Yes I said French Fries and not chips as they say here in the UK. As you can see the Chip Maker has two dies, one for Americans and one for Brits.
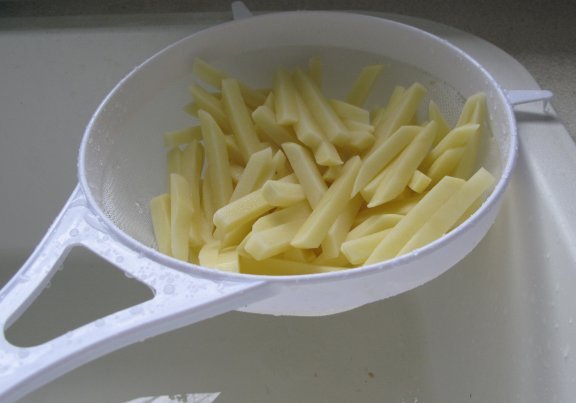
The key thing when using the ActiFry is that you need to remove starch and also have very dry potatoes. Wash them really well in cold water to remove the starch.
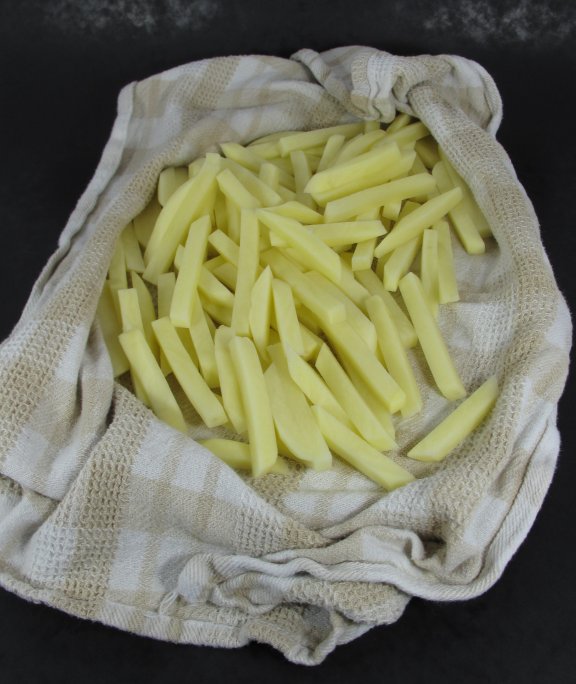
Then use a tea towel and push them around to make sure they are dry.
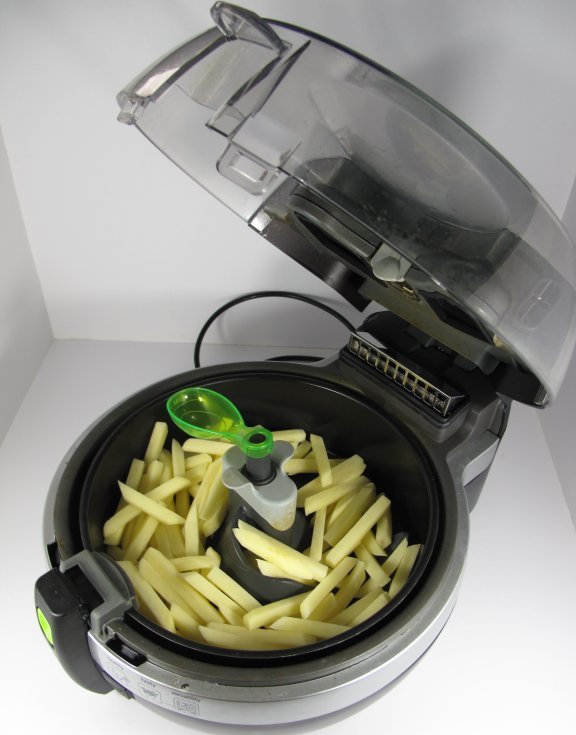
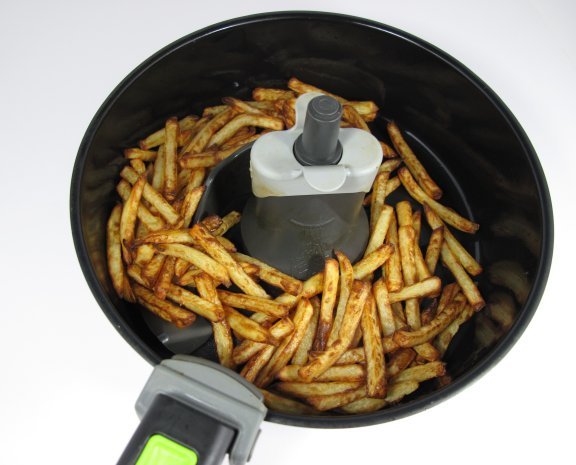
Now at 30 minutes before dinner the potatoes go into the Tefal ActiFry and cover with at most a tablespoon of olive oil. This will produce French Fries at less then 3 percent fat and that fat is olive oil, so almost good for you.
At 20 minutes before the fries are done put a grill pan on the stove at medium heat. Add some olive oil and with a paper towel cover the pan with a thin layer of oil. Put the burger on the hot pan and adjust the heat until you can just hear it sizzle.
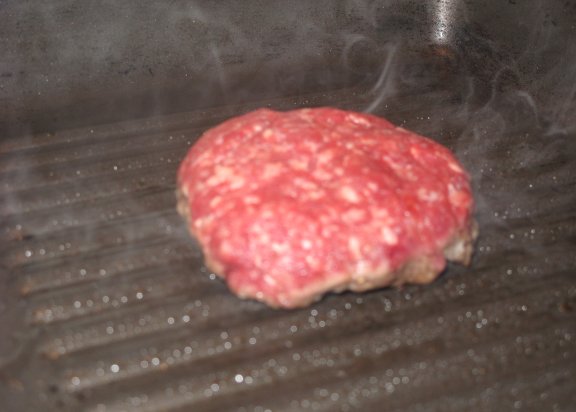
This meat cooks very slowly compared to standard mince. You need to watch the cooking move up the sides of the burger and turn it when it is about ¾ way through. Then cook for about another 5 minutes. If you want cheese then add at about 2 minutes left and then cover with a lid. I cooked my burger for 3 minutes when I turned it over and it was probably a bit rare for most.
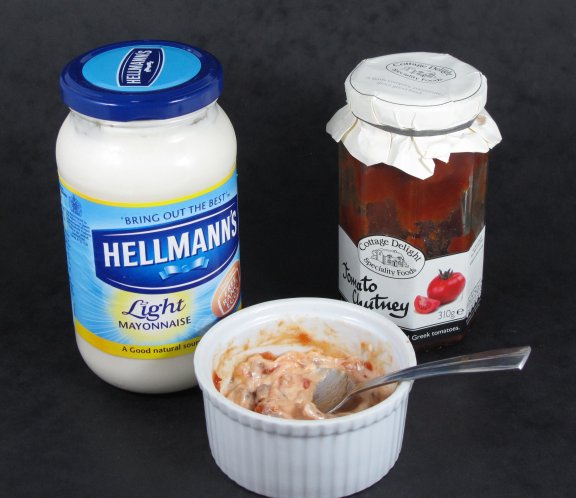
While the meat is sizzling in the background it is time to make the special sauce. I use a mixture of 2 parts mayo to 1 part Tomato Chutney from my local farm shop. The chutney is not the acidic vinegar style, but instead sweet. Mixed they make a great burger sauce.
French Fries are cooked and ready to eat…
So lets plate this sucker up and EAT it!!
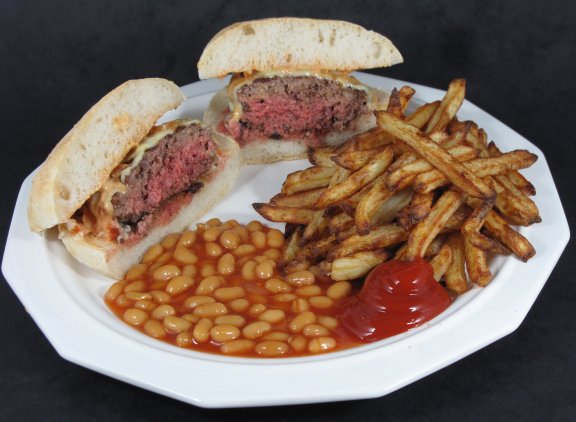
My opinion is hmmmmm. Not as astounding as I thought it was going to be. The texture was very nice and the burger melted in your mouth. It took a long time to cook compared to normal minced beef which kind of freaked me out, as you are seeing the second attempt here. The first one was shockingly raw inside. I am not really sure what is going on as I used my normal burger cooking method. The other thing that is counter intuitive and made me think was that I sacrificed flavour for texture. There was a faint taste of beef, but nothing like a properly aged bit of beef, so I guess my expectations were kind of set wrong. I did not rest the burger either so if I would have put it on a plate with a lid over it for 5 minutes the rareness may have been less. I have another ½ pound to play with so I will update this entry with further enhancements to the trial.